使用Vue制作照片幻灯片是一个结合了Vue的数据绑定、组件化和生命周期钩子的实用项目,以下是详细的实现步骤和代码示例,帮助你快速构建一个功能完善的照片幻灯片组件。

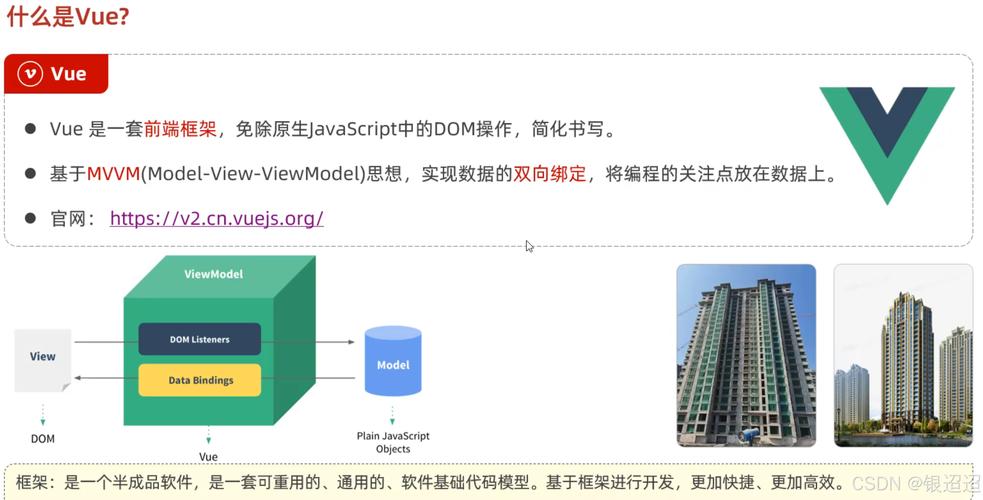
创建一个新的Vue项目,可以使用Vue CLI或Vite,在项目中,创建一个名为PhotoSlider.vue的组件,这个组件将作为幻灯片的核心,负责显示照片、切换动画和用户交互,组件的模板部分需要包含一个容器来展示当前照片,以及左右切换按钮和指示器,使用v-for指令循环渲染照片列表,并通过动态绑定控制当前显示的照片索引。
在组件的<script>部分,首先定义props来接收照片数组和配置参数,如自动播放间隔、切换动画类型等,使用data函数管理当前照片的索引和自动播放的定时器,在mounted生命周期钩子中,初始化自动播放功能,设置定时器每隔一定时间切换到下一张照片,在beforeUnmount钩子中清除定时器,避免内存泄漏,切换照片的方法nextSlide和prevSlide会更新当前索引,并通过取模运算实现循环播放,还可以添加一个goToSlide方法,允许用户点击指示器直接跳转到指定照片。
为了增强用户体验,可以添加过渡动画,在Vue中,使用<transition>组件结合CSS类名实现淡入淡出或滑动效果,定义.fade-enter-active和.fade-leave-active为过渡属性,.fade-enter-from和.fade-leave-to为初始和结束状态,通过动态绑定key属性为当前照片的索引,确保每次切换时触发过渡动画,用户交互方面,左右按钮点击切换照片,指示器显示当前照片位置并支持点击跳转,还可以添加触摸滑动支持,通过监听touchstart和touchend事件计算滑动方向,实现移动端的滑动切换。
在样式部分,使用CSS设置幻灯片容器的宽高、照片的绝对定位和过渡效果,指示器可以使用flex布局居中显示,并为当前激活的指示器添加高亮样式,自动播放功能可以通过setInterval实现,并在组件销毁时清除定时器,还可以添加暂停功能,当鼠标悬停在幻灯片上时暂停自动播放,移出后恢复。
以下是一个简单的代码示例,展示组件的基本结构:
<template>
  <div class="slider-container" @mouseenter="pauseAutoPlay" @mouseleave="resumeAutoPlay">
    <transition name="fade">
      <img :src="photos[currentIndex].url" :key="currentIndex" alt="幻灯片照片">
    </transition>
    <button @click="prevSlide">上一张</button>
    <button @click="nextSlide">下一张</button>
    <div class="indicators">
      <span v-for="(_, index) in photos" :key="index"
            :class="{ active: index === currentIndex }"
            @click="goToSlide(index)"></span>
    </div>
  </div>
</template>
<script>
export default {
  props: {
    photos: Array,
    interval: { type: Number, default: 3000 }
  },
  data() {
    return {
      currentIndex: 0,
      timer: null
    };
  },
  mounted() {
    this.startAutoPlay();
  },
  beforeUnmount() {
    this.clearTimer();
  },
  methods: {
    nextSlide() {
      this.currentIndex = (this.currentIndex + 1) % this.photos.length;
    },
    prevSlide() {
      this.currentIndex = (this.currentIndex - 1 + this.photos.length) % this.photos.length;
    },
    goToSlide(index) {
      this.currentIndex = index;
    },
    startAutoPlay() {
      this.timer = setInterval(this.nextSlide, this.interval);
    },
    clearTimer() {
      clearInterval(this.timer);
    },
    pauseAutoPlay() {
      this.clearTimer();
    },
    resumeAutoPlay() {
      this.startAutoPlay();
    }
  }
};
</script>
<style scoped>
.slider-container {
  position: relative;
  width: 800px;
  height: 400px;
  margin: 0 auto;
}
.slider-container img {
  width: 100%;
  height: 100%;
  object-fit: cover;
}
button {
  position: absolute;
  top: 50%;
  transform: translateY(-50%);
}
.indicators {
  position: absolute;
  bottom: 10px;
  left: 50%;
  transform: translateX(-50%);
}
.indicators span {
  display: inline-block;
  width: 10px;
  height: 10px;
  margin: 0 5px;
  border-radius: 50%;
  background: #ccc;
  cursor: pointer;
}
.indicators span.active {
  background: #333;
}
.fade-enter-active, .fade-leave-active {
  transition: opacity 0.5s;
}
.fade-enter-from, .fade-leave-to {
  opacity: 0;
}
</style>
在父组件中使用PhotoSlider时,只需传入照片数组即可:
<template>
  <PhotoSlider :photos="photos" :interval="5000" />
</template>
<script>
import PhotoSlider from './PhotoSlider.vue';
export default {
  components: { PhotoSlider },
  data() {
    return {
      photos: [
        { url: 'photo1.jpg' },
        { url: 'photo2.jpg' },
        { url: 'photo3.jpg' }
      ]
    };
  }
};
</script>
通过以上步骤,你可以实现一个功能完整的照片幻灯片组件,可以根据需求进一步扩展,比如添加全屏模式、照片标题、缩略图导航等功能。
相关问答FAQs:
-
如何实现幻灯片的无限循环播放?
在切换照片的方法中,使用取模运算符()确保索引在照片数组范围内循环。this.currentIndex = (this.currentIndex + 1) % this.photos.length,当到达最后一张时,下一张会回到第一张。 -
如何为幻灯片添加触摸滑动支持?
可以通过监听触摸事件实现,在组件中添加touchstart和touchend事件处理函数,记录触摸起始位置和结束位置,计算滑动方向后调用nextSlide或prevSlide方法。touchStart(e) { this.touchStartX = e.touches[0].clientX; }, touchEnd(e) { const touchEndX = e.changedTouches[0].clientX; const diff = this.touchStartX - touchEndX; if (diff > 50) this.nextSlide(); else if (diff < -50) this.prevSlide(); }然后在模板中为容器添加
@touchstart="touchStart"和@touchend="touchEnd"事件绑定。

